 ]]>
]]>


Stenciling takes some time and patience. Invest in stencils that are heavy and can be reused. I have some metal stenciling letters that I love because they never tear and are so easy to clean.
Tools:
1) American Paint Company’s Chalk and Clay Paint
2) Sponge brush or makeup up sponge applicator or stencil brush
3) Painters tape
4) Quality stencil made of at least 10 mil opaque mylar
5) Rags for mistakes or blotting. May use paper towels instead
5) Sanding block to weather, distress or fix mistakes
Application:
I simply use a tapping or dabbing method using a make up applicator sponge in the stencil openings. I find this produces more even tones. Some prefer to use swirling brush motions against the stencil openings, which can be more messy and or rip (yikes) the stencil if you’re not careful or light to the touch. Varying the amount of pressure and paint will affect the final look of your design. It’s always a good idea to practice on paper to build confidence.
1) Stencil over a clean, prepped surface. If stenciling over a painted surface, be sure the original paint surface is dry and/or clean. Adding a layer of American Paint Company’s Top Coat to the original paint surface can be helpful if you make a mistake and need to wipe back the stencil (see #5).
2) Using painters tape to hold the stencil in place while you work is helpful. A slight shift in the stencil as you work can really make a mess.
3) I love using a makeup sponge applicator to stencil. They are cheap and disposable (win-win). I lightly dip the flat tip of the applicator into the paint, wipe off access, blot on a paper towel or rag to remove access and dab the paint onto the stencil openings with light pouncing motions (“stippling”).
3) Take your time. I find I do my best work when I am not under the gun to finish.
4) Use paint that is thicker. If your paint is thin, let it sit out in the open air and thicken up before you apply. If your paint is too thin, it can leak under the stencil and make a real mess.
5) If you make a mistake, you can use a sanding block to sand back the mistake and distress the area. For larger mistakes, go ahead and take a wet cloth and wipe off the wet paint and start over. This happens. It happened to me yesterday! Remember it’s just paint. If you make a mess, take the stencil off, if the paint is now dry, repaint the surface and try again later. You won’t be the first person who made a mess and certainly not the last. It’s JUST paint. It’s not a tattoo that can’t be removed.
6) Clean your stencil when done. I use a super soft paint brush to wipe the paint off while the stencil is stilling in lukewarm water.
To buy paint, visit Ivy Lane or our website. www.ivylaneshop.com
For tips, stop by Ivy Lane or email us [email protected]
]]> ]]>
]]>We want to share with you what we know about the WASH technique. We have gathered a few examples of pieces we painted to show how a washed look can be very versatile and soft.
The key to chalk painting furniture is accepting that you really don’t know how it will look and having the confidence that it will be better painted than left alone. We believe a piece isn’t done until you have played, layered, fussed and experienced that “A-HA” moment. With all the experience under our belts, we still don’t know exactly what a piece will look like when we start the process. We may start painting with one intention/vision and end up with a completely different look once the piece is painted. The reason?! We don’t stop until we have the A-HA moment. We are patient — or at least try to be.
We use American Paint Company products and couldn’t be happier with the results, durability and the bonus of working with all natural ingredients. American Paint Company products are made in the USA.
What do you think of our “washed” looks below?
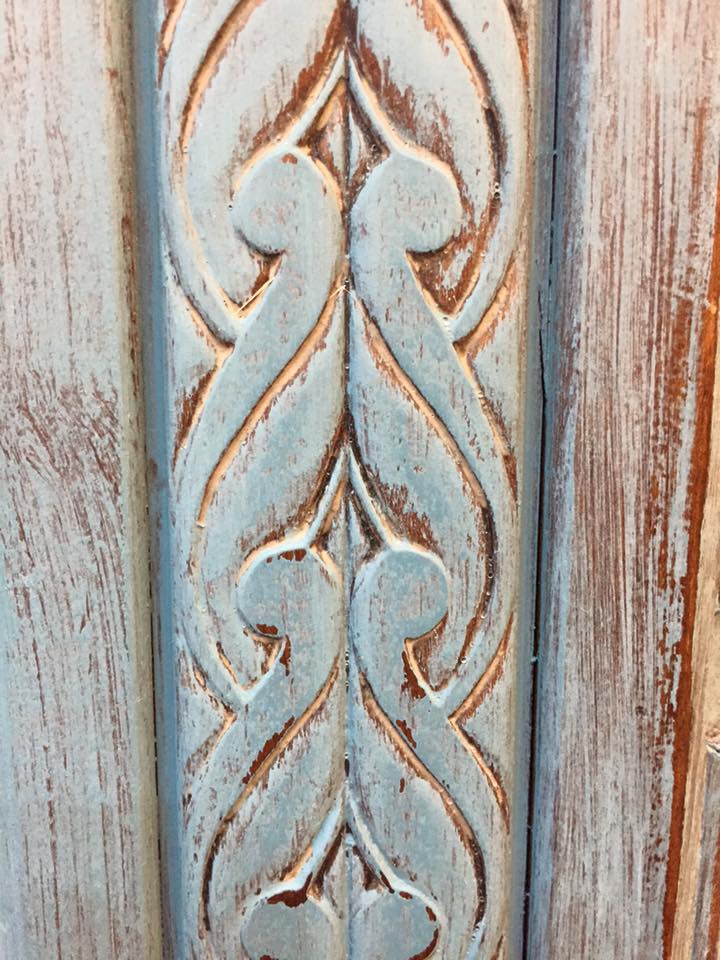
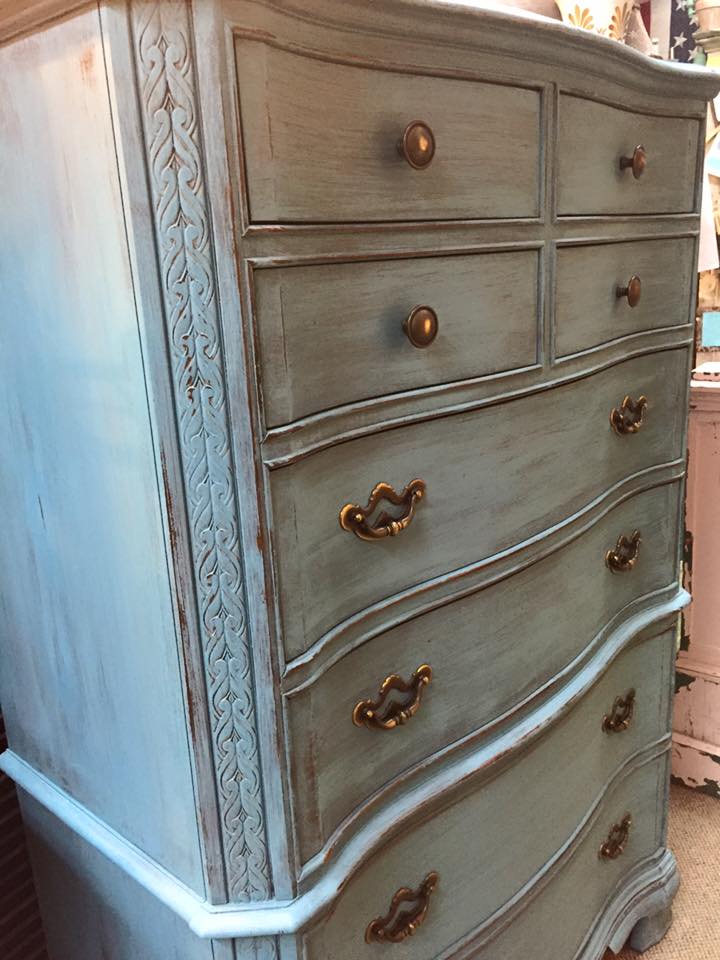
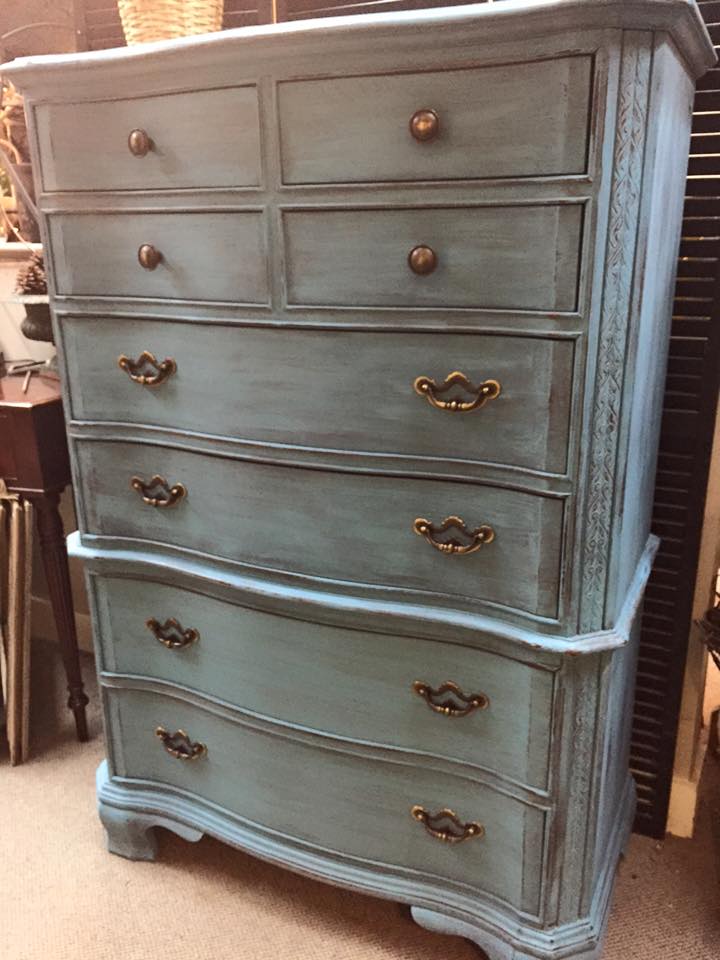
This chest of drawers (pictured above) is painted using one coat of Backyard Pond. Wedgewood is very close, if you can’t find Backyard Pond (I can’t tell the difference to be honest). FYI: All the colors are part of American Paint Company’s chalk and clay paint line.
Using a soft brush I applied the paint directly to a clean and dry surface. I used my brush strokes to soften the paint with the goal of no obvious brush strokes. Start painting a small section of your piece to get the hang of the technique. In this case, starting on the top, smaller drawers to master the technique gave me confidence to paint the larger sections on the side and the top of the dresser. I did not water the paint. Sometimes I do, but in this case the paint was super smooth right out of the can. This was my first time using Backyard Pond and I fell in love.
This is a super sleek white wash using Home Plate over Freedom Road. This happened by accident. The old saying “making lemonade out of lemons” was true on this table. My original plan for the top was a sleek dark gray (Freedom Road) and I accidentally placed my rag from distressing the white legs on the top and messed it up bad. What to do? I watered down the white and washed the top using brush strokes that were consistently going from left to right, the depth of the table. I was really happy with the results. This table has a step by step tutorial in an earlier Ivy Lane Blog. Feel free to check it out. It’s very informative, if I don’t say so myself.
This armoire is in my master bedroom and is nothing really special. A pine piece I bought at a local chain furniture store that is functional but dated and teetering on ugly. I used Limoges (a white with a tan undertone vs yellow) to wash it and now I love it! I just watered down the paint and brushed it on. Using my brush to spread the paint and using a rag to wipe back access paint. I finished this piece in 30 minutes. Fast and easy. Did you know you can go to your local hardware/lumber yard and pick up a piece of wood to practice on for pretty small dollars? I recommend you play a bit. It’s fun and you’ll get the hang of the process with a little practice.
The above three pictures are examples of a wash over a solid paint color.
Descriptions:
The vintage dining chair was painted a solid coat of Dollar Bill and then washed with Freedom Road. What a combo! Tip: Wait for your base coat to fully dry before applying a wash. 24 hours in between is recommended for beginners.
The sweet sideboard is still one of my favorite pieces. This took time. I layered several colors washed down with water: Voyage, Smoke Signal, Freedom Road. The top was finished with a wash of Freedom Road and the base was finished with a layer of Voyage. The last layer is the most predominant color.
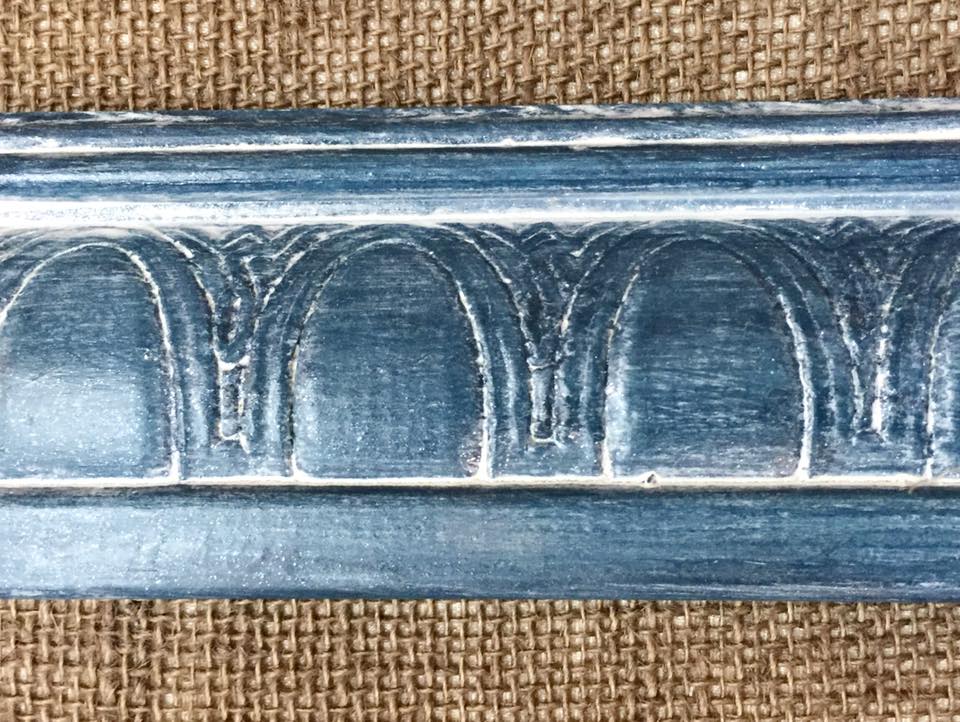
The wood molding has a solid base coat of Born on the 4th of July and a wash of Home Plate. This was done in one of my Paint Workshops. This is one of many techniques we practice and play with.
How you can achieve these looks?
1) Stop by Ivy Lane and we can chat paint.
2) Reach out via our website or email with your questions.
3) Sign up for one of our Paint Workshops
How can you get this paint? EASY!
1) Stop by Ivy Lane in Newburyport, MA. We have a great selection and helpful staff.
2) We sell American Paint Company products on Ivy Lane’s website and have a great track record for safety shipping paint without spills! www.ivylaneshop.com
Questions? Stop by Ivy Lane, call or email us!
Happy Painting!!
Jen of Ivy Lane
email: [email protected]
phone: 978-462-2650
 ]]>
]]>I often talk to clients who struggle with where to start with a design project and many claim they don’t even “know what they like”, but anyone can find something that appeals to them no matter how large or small. In fact, anything will do, particularly if you find yourself stuck all the time – even just a piece of fabric that appeals to your sense of style, a small accessory, or a piece of wall art. Any piece of inspiration can be the start of something FABULOUS regardless of how insignificant it may seem. And if you still need help with getting inspired, help is available with Holly Gagne Interior Designs, a well recognized local interior designer, and our personal favorite at Ivy Lane of Newburyport.
So here’s a piece of inspiration to start off a one of a kind seating area with tons of unique interest. First, an antique sofa frame, available at Ivy Lane, of course. Pictured here, a fantastic buy at only $250 and you’re guaranteed to never have that “oh my god she has the same dress on” moment because this is a blank canvas sure to be every bit as unique as you are.
This photo is a “before shot” of the sofa before we had it deconstructed. The second photo is a “teaser” shot of her without her velvet fabric. What we found underneath was amazing. A solid frame, beautiful wood and burlap ready for someone to convert her into something amazing.
Depending on your flair for design, and taste for color, choose a fabric with colors and prints that suit you. Paint the wooden sofa frame or leave it natural? Choose a soothing and cozy neutral palette and kick up the color with accessories and throw pillows. Or, if you’re a bit more daring, choose a bright colored fabric with lots of textural interest.
Upholstery and fabric choices are also available through Holly Gagne.
The pictures that follow are all great examples and inspiration of the potential for the beautiful sofa we have for sale at Ivy. Photos were found on Pinterest.
Written by, Ivy Lane’s Cherly Judge
]]> ]]>
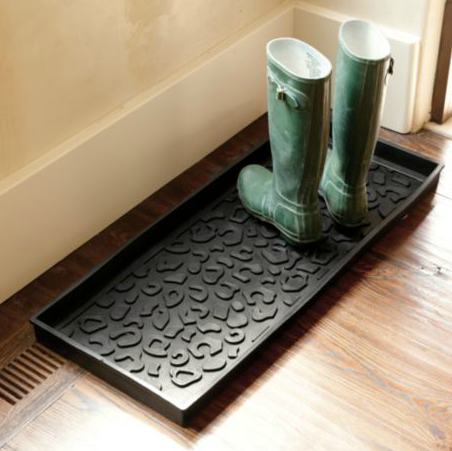
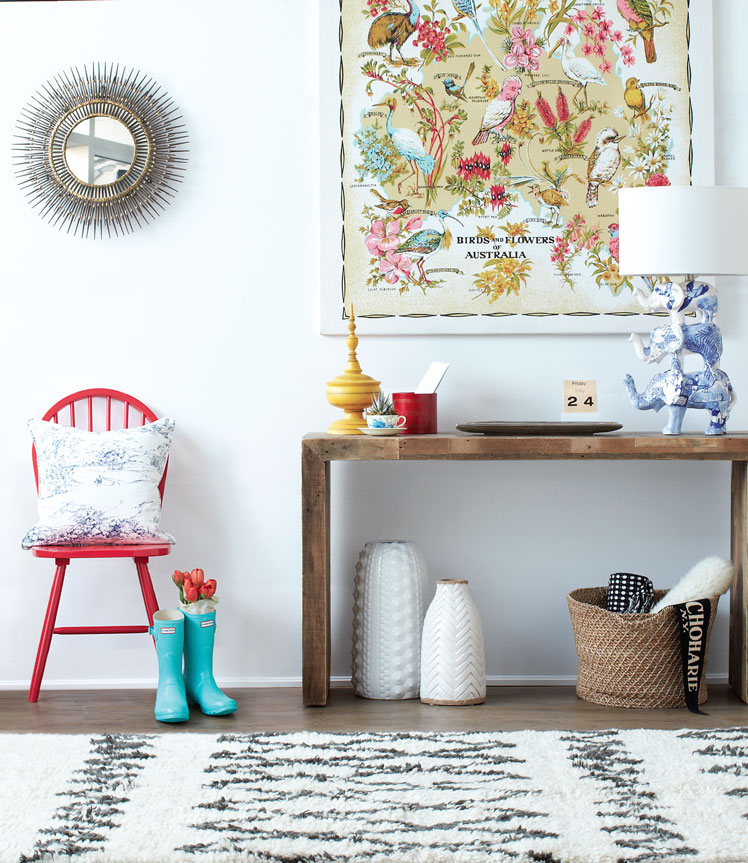
]]>First impressions are important for guests but also for yourself. Spruce up your entryway with a new mat and rug. My mom bought me a Ballard Design boot tray for Christmas this year and it keeps my floors salt free and also encourages my guests to take off their salty boots/shoes. Adding a bench or cute chair by the entry also encourages guests to sit and take their shoes off. I use my entry chair every day. I still have salty puppy paw prints on my floors but I have to say they look cute compared to a big boot print! Use American Paint Company colors to transform a thrift store find vintage chair for a pop of fun color.
When I walk into my house, I want it to smell fresh and clean. One way I achieve this with an essential oil diffuser from BC Essentials. I use essential oil combinations properly named “invigorate” and “stress relief”. The plugin diffuser also serves as a nightlight. We added one in our entryway for first “scent” impressions.
Burn an essential oil candle. The aroma from essential oils will relieve stress and create a relaxing environment to help quiet the mind after a long day. I adore the Flaire candle line offered at Ivy Lane (read on for special offer). We have Lavender, Rosemary Mint, Fresh Fig and Herb Garden scents which are all perfect for adding a Spring and Spa like aroma to your home. All are made with essential oils.
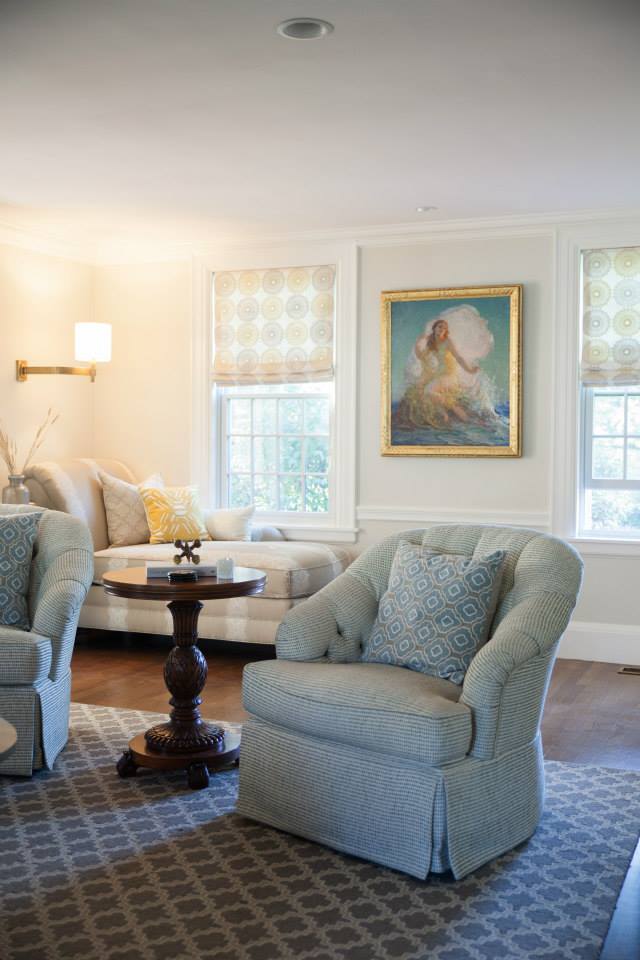
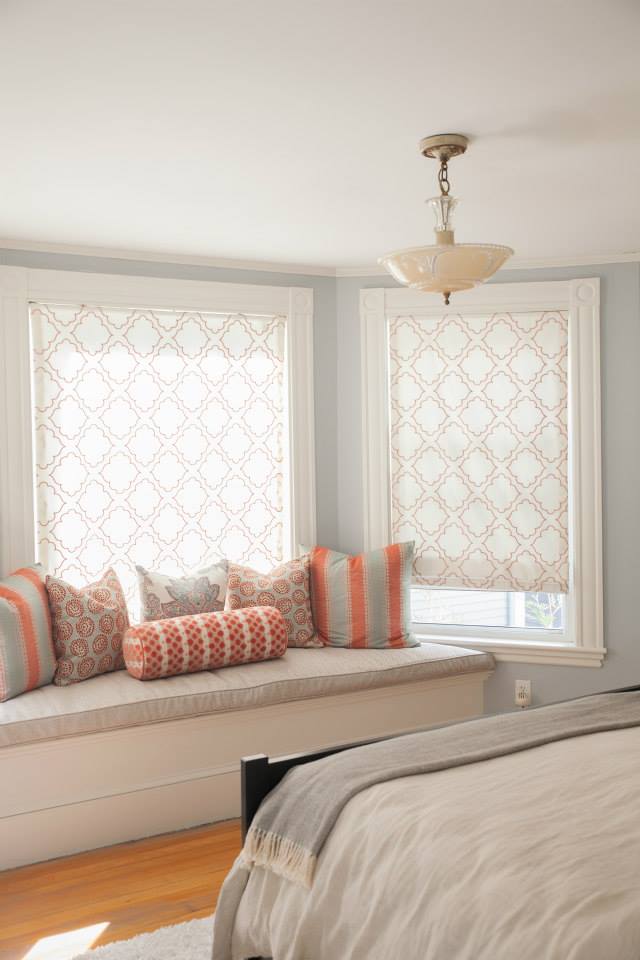
New pillows change the mood of an entire room. Holly Gagne Interior Design custom pillows are made locally with designer fabrics and trims. Holly’s pillows are affordable and beautiful. You can visit Holly’s studio in Rowley to pick your fabric, trim, insert and closure for your new pillows. Here are some samples of Holly’s work including pictures of the fabrics from her studio.
Flowers, florals, greens…. Daffodils, Tulips, Roses, Succulents… all add a splash of color to a gray day outside. Ivy also purchases the best of the best faux stems requiring zero care but adds much “Spring” into your home. The Flora Shop within Ivy Lane offers the most beautiful vertical gardens and succulent arrangements.

 You are now armed with 4 very simple ideas to change the mojo in your home and to accelerate Spring before Mother Nature does.
Enjoy 10% off our Flare Candles, faux stems and American Paint Company Products with mention of this blog. Offer expires March 31, 2015.
Thank you all!
Jen of Ivy Lane
Pictures from Holly Gagne Interior Design, Pinterest and Creative Cooperation.
]]>
 ]]>
]]>What to consider when decorating your home this year:
Neutrals rule. Adding pops of color will bring your neutral palette to life and can easily be changed for seasons or on the whim.
Accessorizing with area rugs and window treatments: Cowhide and sisal rugs are easy to care for, natural and long lasting. My favorite showrooms at the Las Vegas Market featured both. New to market are machine made carpets, with very muted colors emulating the look of a well aged and worn European vintage rug, without the outrageous price tag. I personally have priced the European version and they are very pricey. Rugs anchor the space, as you can see in the room with the large coral ottoman. In addition, window treatments are back! No longer hip is the naked, loft look of a window without a treatment. Soft linen panels and shades made of natural woven wood are in the designers shopping carts this year. Don’t be surprised to see more patterns and florals as we head into 2016.
Trends that have “expired”: Gone are the mirrored side tables, consoles and the Hollywood glam look. The whirl-tub has been replaced with large, multi-head showers. Kitchen desk areas are replaced with more cabinetry and/or additional counter space. Cabinet hardware is not limited to stainless steel and nickel. Brass and gold fixtures have been introduced and designers are using these in new designs. Think gold faucets, brass lamps and sconces.
Wallpaper is big! Ivy has been carrying Tempaper since 2014 and it’s very popular for the obvious reason that you can peel it off when you are ready for another change. We recommend applying Tempaper to an accent wall. Have fun with all the designs Tempaper has to offer. Check out HGTV’s dream home and you’ll see wallpaper. Flip through your current Home magazines and you’ll find wallpaper. Be brave and take the leap with Tempaper.
Blue is IN! It also goes well with Pantone’s color of the year, Marsala. We love navy blue. It’s rich, clean and a fresh change that looks great and enhances rooms painted beige, white and gray. Check out HGTV’s Dream Home 2015 on Martha’s Vineyard. Blue, white, glass, natural rugs and wood. I’m entering daily. Are you?
Mid-Century modern (1950-1970s) is IN but we encourage you to add maybe one or two pieces vs. filling your home with this look. Think fun mid-century chair or clean-lined server added in a room and mix it in with your current furnishings. Another fun way to add the mid-century modern look is with a funky 1950s mirror on the wall behind your sofa or hallway table. Using fabric to reupholster is a great way to change and update a room’s look. You will completely update the look of a chair, sofa, ottoman, etc. with new fabric. Tempaper also has a few mid century inspired prints for your walls.
Gone are the furniture “sets”. If you have a dining room, bedroom or living room SET, think of ways to mix it up. Maybe replace one or two of the set pieces. Change your arm chairs in your dining room or paint the chairs or buffet in your dining room. Change out your bedside tables to something modern and unexpected. I’m currently painting a few items in my master bedroom to break up a very expensive bedroom “set” bought 15 years ago. At this point, I painted my 4-poster pine bed a beautiful Limoges cream and it made a huge difference. No longer do I have a bedroom set but I now simply have a pretty bedroom. It took $72 in product to transform my room with the paint and top coat needed for my bed. Let us help you with your project by either hiring us to do it for you (we provide custom paint services) or consulting with you on your DIY project. Either way, we are always happy to help. Ivy carries an all natural Chalk/Clay mineral based paint and we’d love to share with you what we know. We also provide monthly paint workshops. Below is an example of a painted piece that we found when shopping Brimfield in September 2014.
If you know you need an update but not sure where to start, consult with Holly Gagne Interior Designs. Holly’s design services range from color and fabric consults, room layout and drawings, home styling and organization to full demolition and renovation. www.hollygagne.com. Holly has a beautiful studio in Rowley, MA and also provides in-home design consults.
We hope these tips help you when you’re ready to tackle your 2015 home projects. We at Ivy are always happy to talk shop. If you need a certain piece, let us know and we will work hard to find it for you.
Happy decorating!
Jennifer of Ivy Lane
Photos: Found on Pinterest, Kings Lane, Crate and Barrel, and Holly Gagne Interior Design’s FB and website.
]]>
 ]]>
]]>
Paint = Peacock
Finish = Top Coat and Black Glaze
Step by Step Process:
Clean – this buffet was sitting in an attic and needed a good cleaning. I used American Paint Company’s Surface Prep/Brush Cleanser (pictured above) with some warm water and wiped clean. It is amazing the grime that this product will cut through. I love it and it smells lemon clean! It also will last you a long time. I use it to clean paint and wax brushes too.
Remove the hardware and put aside.
Paint – I brushed on two coats of American Paint Company’s Peacock. Peacock has great coverage and with two coats I was done! Peacock looks different in various lights. I attached several pictures at different angles so you can see what I mean. I did water down the paint slightly for a thinner application of paint to give me a smoother, less textured finish.
Seal – One coat of American Paint Company’s Top Coat (pictured above), watered down slightly. 90% product, 10% water. This step seals the paint and allows me some working time with the glaze.
Glaze – Pour some of American Paint Company’s Black Glaze into a container and mix in some water. I never measure but my guess is a ratio of 60% glaze, 40% water. Have four (4) things ready…. 1) Watered down glaze 2) paint brush 3) damp cloth 4) dry cloth (be sure the cloth you use is lint free). I work in small sections and brush on the glaze with my paint brush to cover the paint surface. I will do a drawer, or cabinet panel and work section by section to give myself plenty of time to pull back the glaze without it drying…. And, it does dry quick. The black glaze dominates the peacock when you first brush it on. That’s ok. Take your dry cloth and wipe back the glaze to expose the paint color and use your cloth to push the glaze into the corners and areas where the wood would normally age. The more you wipe back, the more glaze you take off. This is where the artist in you can have some fun. I pulled the glaze across the drawer with my cloth with the wood grain. If you need to remove more glaze, use the damp cloth; however, be careful, you may find the wet cloth removes too much of the glaze. If that happens, let the glaze dry and try again. Layer the glaze until you’re happy with the results. The Top Coat under the glaze allows you to move the glaze and work it into the areas you want. The layer of Top Coat applied before the glaze also prevents the glaze from seeping into the paint. Tip: try working on the sides of your piece first. If you make a mistake, it will be less noticeable. Get the feel of the glaze before you start glazing the front drawers or top. If you want more confidence before applying glaze to your furniture, practice on piece of molding or scrap wood.
Seal – Once glaze is applied to my liking and dry, I seal the glaze with Top Coat. I water down the Top Coat for a matte finish. If you want a satin finish, apply Top Coat full strength. The ratio I use for a matte finish is 80% Top Coat, 20% water. I work the Top Coat into the finish and allow it to dry for 1 hour before applying the next layer of Top Coat. I generally apply 2 coats of top coat on the base and 4 coats on the top for extra protection. If kids are using the piece, I apply 5 coats.
As always, we are here to answer your questions. We love to hear what you think! Share your experiences with us.
Jen, Ivy Lane
]]> ]]>
]]>This is what I did to give her a chance to find a new home:
1) Gave her a good cleaning using American Paint Company’s Cleanser (follow instructions on back of bottle – super easy and smells like fresh lemons).
2) Painted her all over (except for the top) Crushed Tea by American Paint Company.
3) Walked away… I let this coat dry for about 14 days before I went to the next step because I just wasn’t sure what I wanted to do…. The shutters above the server were placed there one day by my business partner, Cheryl. The creative light struck! I was so inspired by the antique, European shutters and their natural distresses and very layered paint look.
4) I added Smoke Signal by American Paint Company directly over the Crushed Tea. I applied the paint with a brush with deliberate brush strokes and immediately took a damp cloth and wiped it back as I painted. The Crushed Tea had cured over the two week period between paint coats, so my damp cloth did not pull any of the Crushed Tea off, which was FANTASTIC. I didn’t want to expose the wood under the Crushed Tea.
5) The Crushed Tea and Smoke Signal looked great but I wasn’t there quite yet…. I covered all the hardware with this mix as well. I decided to add a touch of Shoreline – a bright turquoise blue to the hardware. I always say your not done until you find that moment of accomplishment and pride in what you created. I found that moment.
6) Top Coat – 3 coats sealed her up.
7) She sold immediately and the family who purchased this piece are over the moon happy. What took me so long? Well, everything happens for a reason. I just didn’t have the inspiration I needed until the day Cheryl placed the shutters over the server. We all look for inspiration and if you don’t have it, wait…. it will come!
Another happy ending!
]]>
 ]]>
]]>
After results

Before photo – I didn’t paint this piece for 8 weeks. I thought she was pretty but honestly no one else did. I only had one customer ask about this piece…. It was time to paint.

I picked two American Paint Company chalk and clay paints: Born On The 4th Of July (a rich navy blue) and Dollar Bill (a neutral blue-gray with a tint of green).

After the first and only coat of Born On The 4th Of July was dry, I added one coat of Dollar Bill and was careful not to saturate the entire piece as I wanted some of the Navy to show through the Dollar Bill. I did this with brush strokes but you can also achieve this technique using the “wet distress” method (using a wet – more than damp and less than soaked – cloth, wipe back to top layer of paint to expose lower layers.).

I added one coat of American Paint Company’s Top Coat at full strength all over my paint. Top Coat is so easy to apply. It brushes on like thin milk and I use my brush to apply and work the product into the paint.
 I added one coat of American Paint Company’s Top Coat at full strength all over my paint. Top Coat is so easy to apply. It brushes on like thin milk and I use my brush to apply and work the product into the paint.

And, here she is! The feedback has been outstanding. I hope she sells soon so I can buy another one and share with you more results. How did I get that amazing finish on the top? Easy, 2 parts Canola Oil 1 part Vinegar! I applied the mixture and buffed it. Amazing, easy and all natural, just like American Paint Company products I used to transform this piece.

Ivy Lane sells all of American Paint Company products. Visit our shop, call the shop or visit our website www.ivylaneshop.com.
]]>
 ]]>
]]>All photos were found on Pinterest. I do love Pinterest. A picture is worth a thousand words. Here are some creative ideas.
]]>
 ]]>
]]>
Autumn floral arrangements in galvanized tins or old vintage boxes. Adds interest and easy to use again in the Spring.
Thinking “outside the box” or tin, we found this beautiful, vintage settee filled with flowers. We actually have a vintage sofa and what a statement it would make to turn it into something spectacular like this. I found this on Pinterest via HeatherBullard.com
An inexpensive way to decorate your outdoor space is using four items: hay bails, corn stalks, mums and pumpkins. Toss in a vintage apple ladder and a Fall inspired banner for fun.
Add a Fall inspired wood sign to your outdoor or indoor space. Here are a couple inspirational ideas:
Have fun preparing for Fall. Remember most of the ideas above can be saved and used year after year with new plantings.
Share with us your ideas!
Jen of Ivy Lane
]]>














 This is what 1 coat of Born On The 4th of July looks like. You can see the wet vs dry areas.


